
Keeping an eye on your storage drive can help you identify problems before they begin affecting your files or Windows performance. The good thing is that Windows 11 already includes commands that can quickly show the status of your HDD or SSD.
You do not need to install additional software for this basic check. Using Windows PowerShell, you can view the health status of your physical drive and then scan its file system for problems.
Here is how to do it.
Table of Contents
Open Windows PowerShell as Administrator
The first step is to launch PowerShell with administrator permissions.
Go to the Windows 11 search bar and search for PowerShell or Windows Terminal. Open it using the Run as administrator option.
Once the PowerShell window appears, you can begin checking your storage drive.
Check Your Physical Disk
Enter the following command into PowerShell:
Get-PhysicalDiskPress Enter.
PowerShell will now display information about the physical storage drive installed in your computer.
The results include several useful columns, such as:
- FriendlyName
- SerialNumber
- MediaType
- CanPool
- OperationalStatus
- HealthStatus
For a quick health check, pay particular attention to OperationalStatus and HealthStatus.
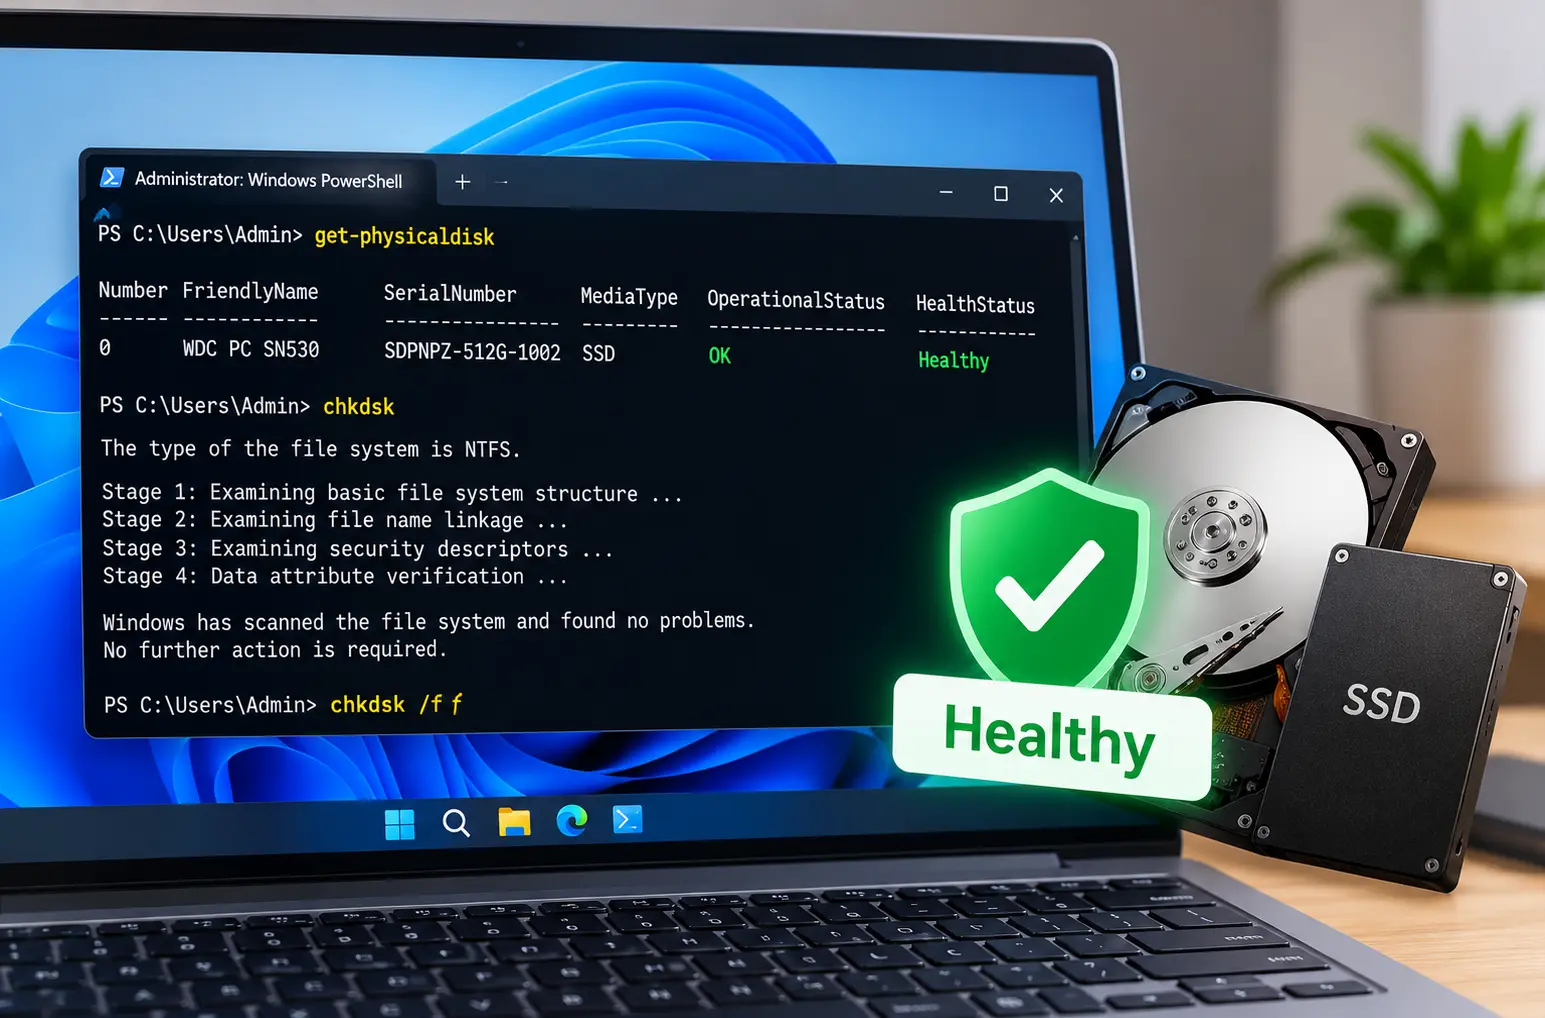
In the example shown, the drive displays:
OperationalStatus: OK
and
HealthStatus: Healthy
This indicates that Windows currently recognises the physical drive as operating normally.
The MediaType column is also useful because it can identify the type of storage. For example, the drive demonstrated in the process is recognised as an SSD.
Run a CHKDSK Scan
After checking the physical disk status, you can perform another check using Windows’ built-in CHKDSK command.
In the same PowerShell window, type:
chkdskPress Enter.
Windows will start checking the file system on the drive.
During the process, CHKDSK goes through different verification stages. You may see it examining files, indexes, security descriptors and other file-system information.
Wait until the process is complete.
Check the Final CHKDSK Message
Once the scan finishes, look at the final result displayed in PowerShell.
If the file system is in good condition, Windows may display:
“Windows has scanned the file system and found no problems. No further action is required.”
This means the CHKDSK scan did not identify file-system problems that require further action.
The scan may also display information about the drive, including total disk space, available space and allocation units.
What If CHKDSK Finds a Problem?
If the initial scan indicates that errors need to be fixed, Windows provides another useful CHKDSK option.
Enter:
chkdsk /fThe /f parameter tells CHKDSK to fix errors it detects on the file system.
If Windows cannot lock the drive because it is currently in use, you may be asked to schedule the check for the next system restart.
Two Commands for a Quick Windows 11 Drive Check
The process demonstrated here essentially uses two Windows tools for different parts of the check.
First:
Get-PhysicalDiskThis lets you see the physical disk information and quickly check its OperationalStatus and HealthStatus.
Then:
chkdskThis scans the drive’s file system and reports whether Windows detects any problems.
If errors need fixing, you can use:
chkdsk /fFinal Thoughts
Windows 11 makes it surprisingly easy to perform a basic HDD or SSD health check directly from PowerShell.
Start by running Get-PhysicalDisk and check whether the drive reports OK and Healthy. After that, run chkdsk to scan the file system.
If Windows reports that it has found no problems and no further action is required, the scan has completed successfully without detecting file-system errors.
It is a simple check that takes only a short time and can be useful whenever you want a quick look at the current status of your Windows 11 storage drive.
